Friday, October 26, 2012

Outdoor Photo Session: Final Image & Self-Assessment

Trevor Williams:
A Man of Talent, Opportunity and Vision 


Trevor Williams, a native Montrealer, is a retired Canadian basketball player and former member of the Canadian olympic team. He is currently head coach of the Dawson College Women's AAA basketball team, and founder of the Trevor Williams All-Star Basketball Academy, which runs a basketball camp every summer. Mr. Williams' contribution to the youth of the community does not limit itself to sharing his basketball experience and skills, but also teaching valuable life skills through the Trevor Williams Kids Foundation, a non-profit organization.  

Self-Assessment

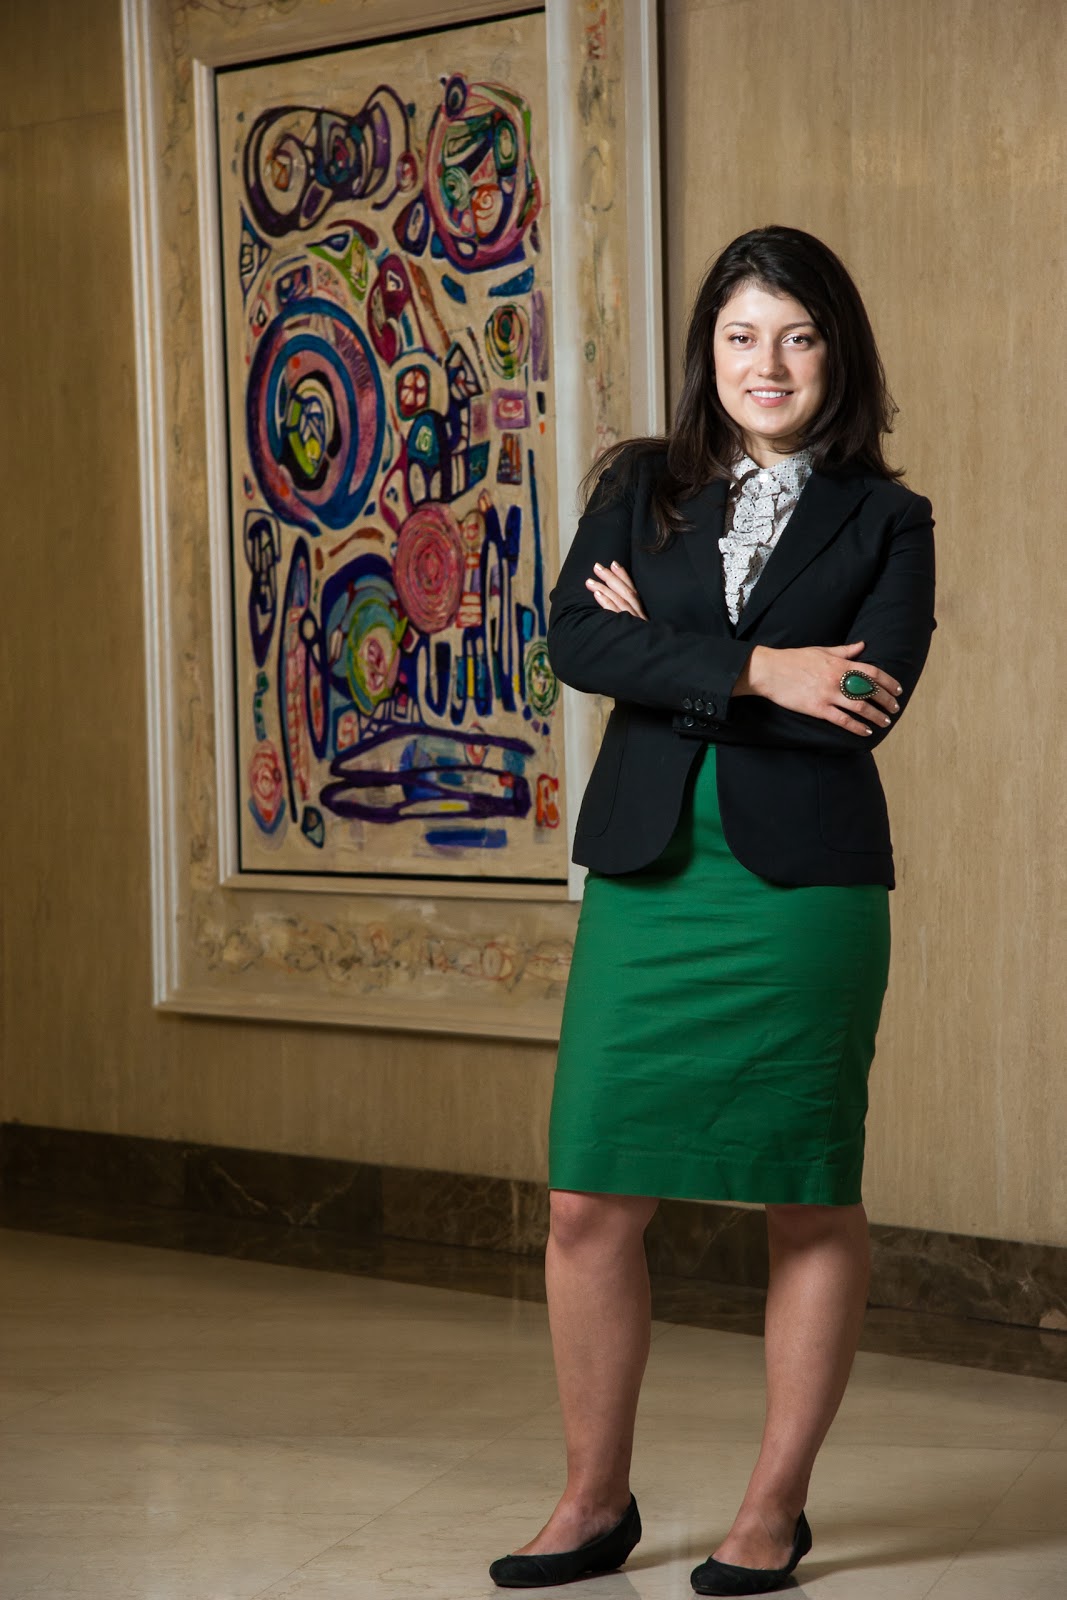
Saturday, October 20th, I photographed Mr. Williams on the grounds of the Dawson College campus. I worked using a softbox as a fill light and a flash with a reflector bowl as the main light. My camera settings were: ISO 100, Focal length: 17mm, Aperture: f/5.0, Shutter speed: 1/250sec. My biggest challenge was the ever-changing ambient light: sometimes I had shade from clouds passing by in the sky, then I had bright sunshine a couple minutes later. It was back and forth like that for the duration of the shoot. 


1. What worked well for me on this assignment? 
 I was fortunate to have a great subject, helpful assistant,  and nice weather. I also really appreciated all the feedback and guidance from my teacher. 

2. What would I change in my preparation if I had the opportunity to go back and do it again? 
More practice with posing. 

3. What would I change in my photographic approach? 
Not settle for less. Keep pushing for the results I'm looking for. Address issues right away so that I don't waste time or photos which are not working. 


Thursday, October 18, 2012

Outdoor Photo Session: Lighting Diagram & Pre-production

Here are my lighting diagram and pre-production notes for an outdoor photo session taking place this Saturday, October 20th on Dawson College's campus.

The objective of this assignment is to execute a full-length portrait of a person from Dawson, fictitiously intended for use by a Canadian magazine featuring a "People of Dawson" spread. My subject for this assignment is Trevor Williams, currently the head coach of the Dawson College Women's AAA basketball team, and former member of the Canadian national men's basketball team.


Pre-Production Notes:

  • What type of available light will I be encountering? What is my intention in terms of how I plan to use the available light? I will be shooting outdoors in the early morning with a little bit of shade from surrounding large trees. I will use the available daylight as my fill light. 
  • What is the reason for my lens choice? I will definitely be using a wide angle lens in order to capture a full-length photograph and a give a sense of the background elements. 
  • What aperture do I plan to use and why? Explain! I will try to use an aperture f/8 to get some depth of field, but not too much. Also, because I will attempt an action shot, I need a high shutter speed, so I will probably have to increase the ISO and I'll be limited with my aperture to maintain sharpness. As such, I don't think I'll be able to increase the shutter speed beyond f/8.
  • What shutter speed do I plan to use and why? Explain! As fast as I can because I will attempt an action shot, and I don't want it to be too blurry. I may allow some areas of visible motion blur, but definitely not in the face. 
  • Do I have enough available light to achieve these camera settings? I should, unless there are very dark clouds.
  • Do I have enough strobe to achieve these settings? My flash will be used for effect-- to shape, highlight, dramatizes my subject. If there is sufficient daylight to expose him properly without extra lights, then I will probably use the flash as a backlight. If the available light is weak, then I will use the flash to properly expose my subject from the front. 
  • Are there any technical problems that will need to be addressed at the shoot or in post-production? Given that I will be attempting an action shot, I will need to control and manage the exposure and motion blur to the degree that I'm aiming for. 
  • What equipment will I need for the shoot?
    • my camera, a Canon 30D
    • camera lens: 17-85mm (canon kit lens)
    • fully-charged battery and backup;
    • memory cards (with space on them to shoot)
    • tripod
    • light meter
    • external drive
    • radio slave
    • synch cord for tethered shooting
    • 2 roller carts to carry equipment
    • laptop
    • synch cord for flash
    • 2 flash heads
    • 1 vagabond baterry
    • 1 split-power cord
    • 1 softbox
    • 1 reflector
    • 2 stands
    • grey card
    • location misc kit
    • snacks


Thursday, October 4, 2012

Food Photography: Final Image & Self-Assessment

On September 29th, I photographed a plate of food in a conference room of Dawson College. The plate was prepared by the school's cafeteria. When I arrived at the location, there were 9 different plates to choose from. I already had in mind to shoot against the wood paneling to create a cozy, evening dinner atmosphere, so I picked this colorful bean salad which I believed would go well with the background ambiance.  

Although I positioned the table next to a window, there was very little light coming through because of that day's overcast weather. As planned, I used flash as my main light source and mounted a telephoto lens on my camera to get shallow depth of field. In order to highlight the food, I used a reflector pointed towards it (reflecting light from the flash to the left of the table), while goboing the background to keep the rich color of the wood and to eliminate excess flare on the props. 


My camera settings for this shot: ISO 200, aperture 2.8, shutter speed 1/160sec and a focal lens of 110mm. 

1. What worked well for me on this assignment?
Being prepared and arriving early! Like usual, I brought more than I needed, but my props and location kit came in handy for both myself and the person I was shooting with. This was my first tethered shoot and I quite appreciated being able to view my photos on a bigger screen and accurately assess their quality, particularly sharpness and exposure. 

2. What would I change in my preparation if I had the opportunity to go back and do it again? 
  • Not forget to eat breakfast and/or bring snacks! 
  • When borrowing a lens from school, double-check that I was given the right brand (even if I wrote down the specific lens and brand that I need), and make sure that it is compatible with my camera, otherwise, I also should borrow a suitable camera as well;
  • Bring black foam core for goboing;
  • Get a longer synch cord for tethering.
3. What would I change in my photographic approach? 
Attend to all aspects of the photo, not just the main subject/object. Remember to pull back once in a while to look at the big picture and make sure that the background is lit and composed in a way that supports the main subject/object.

Friday, September 28, 2012

Food Photography: Lighting Diagram & Pre-Production Notes

This Saturday, September 29th, I will be tackling food photography. The objective of this shoot is to create a stylish editorial image for a food magazine. I will have the opportunity to work indoors again using lights in combination with the ambient lighting and architectural elements and environment to give a sense of context.


I will be shooting with a telephoto lens to get a shallow depth of field, and flash, however, I may choose to only use the modeling light, which is tungsten. I plan on bringing in accessories, props and extra food items, such as a candle, wine glass, linen, cutlery, and slices of bread to create a cozy, evening dinner atmosphere


Thursday, September 27, 2012

Editorial Portrait / New Entrepreneur - Part 2

On September 22nd, I photographed Vladi, who played the role of a young new art gallery owner. I worked indoors using flash and daylight coming from floor to ceiling windows behind me. The objective of this assignment was to execute a portrait intended for use as a magazine cover featuring New Entrepreneurs. Below are my post-shoot notes.


As expected, the available light was weak, so it was a challenge to light the background while maintain a sharp image. In the end, I shot with the following camera settings: ISO 400, aperture 5.6, shutter speed 1/60sec and a focal lens of 81mm, using my 17-85mm zoom lens. 

When I prepared my pre-production notes and lighting diagram, I had in mind a horizontal portrait using the wide angle end of my lens. However, I realized that for the cover of a magazine, a horizontal shot would not work, so I switched my composition to vertical and used the telephoto end of my lens. My time, focus and energy went mostly into getting proper exposure, focus and composition. I completely forgot to use a grey card, and I chose not to take the time to set-up the tungsten filter. With regards to equipment, I brought than I ended up using. I ended up using a classmate's radio slave which worked better than the ones I borrowed. I had hoped to shoot tethered in order to see my images on a bigger, superior screen than my camera's small display screen. Unfortunately, I had issues accessing the school's laptop, so I had to rely on my camera's screen. 

1. What worked well for me on this assignment?
Being prepared by answering all the questions on the pre-production notes and determining the lighting diagram. Taking the time to think and decide these things ahead of time gave me a clear plan and direction for the photo shoot. 

2. What would I change in my preparation if I had the opportunity to go back and do it again? 
I arrived early and prepared in respects to everything that was within my control. However, when unexpected issues arose outside of my control, I struggled to manage the stress. Therefore, in retrospect, I would take some time to prepare myself mentally and strategize how to with unexpected issues outside of my control and develop a problem-solving attitude/reflex. 

3. What would I change in my photographic approach? 
Be more open to trying different things. Use my pre-production notes and lighting diagram as a starting point, not as a rule. Keep a certain flow to the shoot.  

Wednesday, September 19, 2012

Editorial Portrait / New Entrepreneur

Here are my lighting diagram and pre production notes for a location photo shoot taking place this Saturday, September 22nd at 3500 De Maisonneuve, 2nd floor, Atrium.

The objective of this assignment is to execute a portrait intended for use as a magazine cover featuring New Entrepreneurs. I will be working indoors using flash and daylight coming from floor to ceiling windows. My model is Vladi. She will be playing the role of a new, young art gallery owner.


Lighting Diagram:


Pre Production Notes:

  1. What is my intention in terms of how I plan to use the available light? The available daylight in my location is indirect and weak. With regards to artificial light, there are a few small ceiling tungsten lights above. I intend of using the ambient light to light the background.  
  2. What is the reason for my lens choice? I only have one lens: a zoom 17-85mm lens. However, I plan on using the wide angle part of this lens because I want to include the large background paintings in the shot and give the image a feeling that it's a big space. 
  3. What aperture do I plan to use and why? Explain! Because the ambient light is quite weak, I will need to use my widest aperture, which is 4.0.
  4. What shutter speed do I plan to use and why? Explain! According to the light meter reading, in order to properly expose my background, I need to shoot at approx. 1/15th or 1/8th of a second. 
  5. Do I have enough available light to achieve these camera settings? Just barely, but since I'm using a flash to illuminate the subject, I do not need to worry about motion blur.
  6. Do I have enough strobe to achieve these settings? Yes, definitely. In fact, I will not need much power because I do not want too much contrast between the subject and the background. I'm going for a more soft, diffused lighting set-up. 
  7. What type of available light will I be encountering? Indirect and weak (because the location of the shoot is somewhat distant from the windows and in a more closed narrow space/hallway. 
  8. How will I be addressing this mixed light situation? A number of ways: I plan on using a grey and Macbeth color chart to have a point of reference in post-processing. Second, I will shoot one image with the tungsten setting to correct the background and shoot a second image on flash mode for the subject. That way, I have the option to use both photos in post-processing that will give me the right color for both the background and subject. Thirdly, I will try using a tungsten gel filter on the flash to match the ambient, tungsten light and set my camera on tungsten.  
  9. Are there any technical problems that will need to be addressed at the shoot or in post-production? I will probably have some color correction to do, and exposure adjustment on the background (which may be slightly underexposed). Lastly, I may need to correct the lines of the painting frames on the wall behind the subject, which may distort as a result of shooting wide angle.   
  10. What equipment will I need for the shoot?
    • my camera, a Canon 30D
    • camera lens (currently my one and only): 17-85mm (canon kit lens)
    • fully-charged battery and backup;
    • memory cards (with space on them to shoot)
    • tripod
    • light meter
    • external drive
    • card reader
    • radio slave
    • synch cord for tethered shooting
    • 2 roller carts to carry equipment
    • extra lenses (in case I'm not satisfied with the results using my zoom lens)
    • laptop
    • synch cord for flash
    • 1 prophoto kit
    • 2 power cords
    • 3 extension cords
    • 1 softbox
    • 1 reflector
    • 2 big stands
    • 2 sandbags
    • 1 superclamp
    • grey card
    • tungsten and fluorescent gel filters
    • macbeth color chart
    • tape
    • location misc kit
    • snacks

Wednesday, May 30, 2012

Interiors and exteriors


ISO 100, f/22, 1/13sec
Building: Back of residential apartments in St-Henri

Initially, I went into this alleyway because I saw some graffiti that caught my eye, but I also found this interesting view. I like the multiple frames happening in the picture, and the unexpected view of the sky through the top half of the building. I'm not sure why there is this open space in the upper half of that building. It looks like there might be a staircase that passes through there, but it lets the viewer's imagination wander.


ISO 100, f/5.6, 1/40sec
Building: Caisse du Quartier de St-Henri

I have passed by this bank before. It's an unusual building; and it looks quite different depending on what angle you look at it from. It stands to the left of a tall, old Catholic church, which exaggerates the contrast between the two architectural styles. Surprisingly, I did not run into an issues with photographing this bank, probably because I was shooting on a Sunday. I could not find a security guard to get permission, and no know stopped me.


ISO 800, f/3.5, 1/3sec
Location: Residential home

Although not glamorous, I've always liked the view and spatial arrangement of this master bedroom. I like the fact that when you open the door, you face a window which runs 2/3 of the wall length. I chose to shoot this view at the end of the day when artificial and daylight are of similar strengths. I like the mix of colors from the light, and by keeping some of the shades down, I find the eye wanders from the side lamp, to the bed, to the two doors across the street.


ISO 100, f/8, 1/8sec, 1/13sec, 1/15sec, 1/50sec, 1/60sec, 1/80sec
Location: Conference room at Dawson

This image is a composite. I used several images in order to have a perfectly exposed and clear image both inside and outside the window. I chose this view because I love the rich color of the wood and the cream colored bricks of the wall and from the light flooding in from the window.